While it's good to know how to manually compile and run Solidity code, it gets tedious for larger apps. Thankfully, there are som great DApp frameworks that take care of this for you -- the most popular one being Truffle.
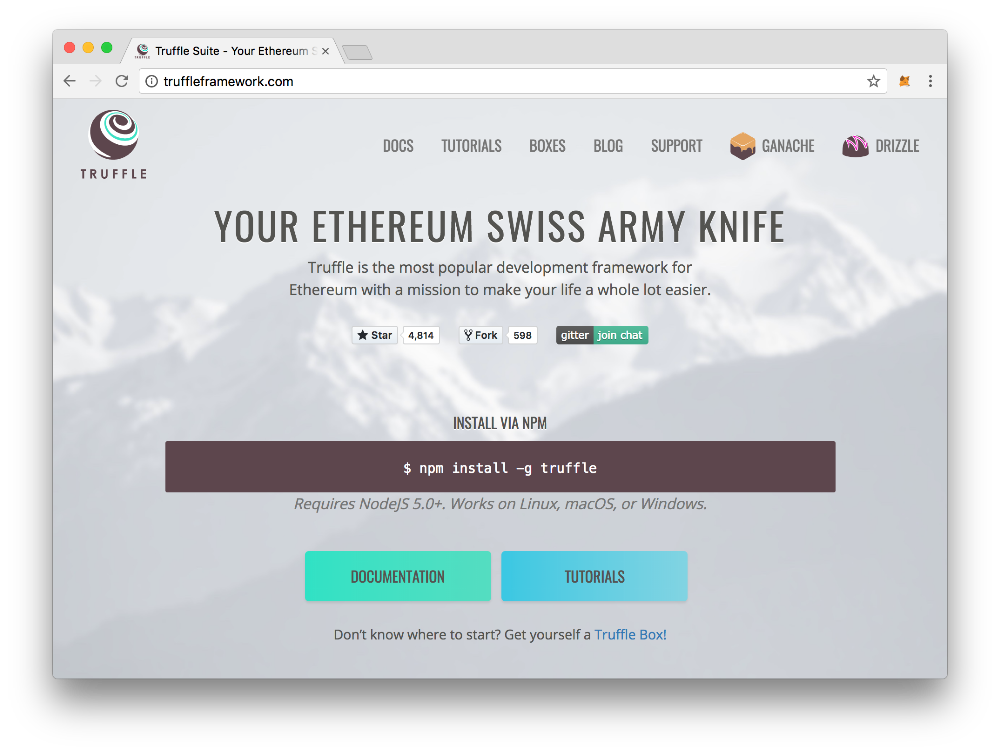 The Truffle website
Throughout the rest of the course, we'll be using Truffle to build our DApp following their best practices.
Creating a Truffle project
To install Truffle globally on your computer, run the following command:
npm install -g truffleAfter the installation is done, you should be able to run truffle version to see your installed version.
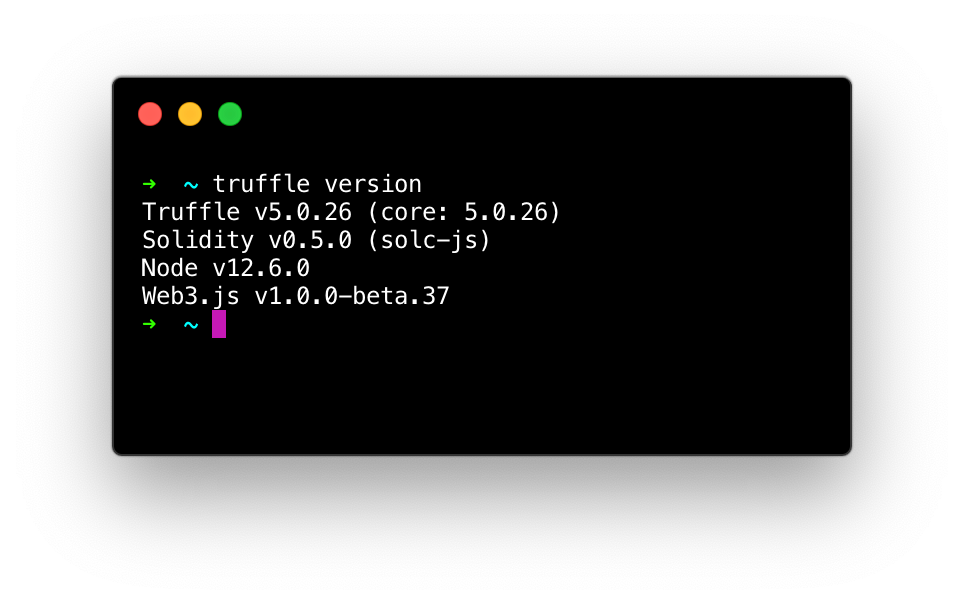 Make sure that your Truffle version is at least v5.0.0.
Alright, now let's again re-create our HelloWorld example app from scratch (don't worry, we'll soon build something new) -- this time using Truffle!
mkdir hello-solidity-truffle
cd hello-solidity-truffle
truffle init
Once you've created a new folder for your project and navigated to it, the truffle initcommand will automatically generate a boilerplate file structure for your DApp.
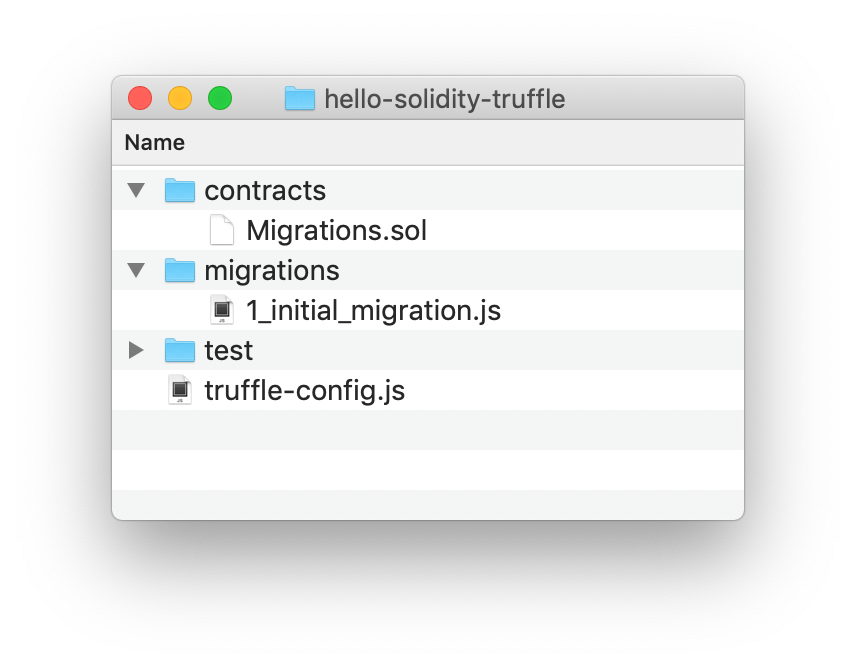 What your generated file structure should look like
Let's go through the generated files and folders one by one so that we know what's going on!
-
contracts: As you could've guessed, this is where your app's Solidity contracts(.solfiles) should go. -
migrations: The files in this folder will orchestrate the deployment process, similarly to what we did in the last chapter. Thanks to Truffle however, we get a lot of functionality for free so that the files can be written in a much simpler way. -
test: Having automated tests for your contracts is crucial! They go in this folder, and can be written either in Solidity or JavaScript. -
truffle-config.js: A configuration file for your project's settings.
HelloWorld in Truffle
Let's add our HelloWorld.sol contract that we wrote earlier in the contracts folder. Again, here's what it looks like, in case you had forgotten:
// contracts/HelloWorld.sol

pragma solidity ^0.5.10;

contract HelloWorld {
  string myName = "Tristan";

  function getMyName() public view returns(string memory) {
    return myName;
  }

  function changeMyName(string memory _newName) public {
    myName = _newName;
  }
}
Next, as we saw in the previous chapter, we need to deploy this contract to some address in order to interact with it. With Truffle, we just add a new file to the migrations folder to take care of this process. It should be prefixed with a 2 (so that it runs after 1_initial_migrations.js), so let's call it 2_deploy_hello.js:
// migrations/2_deploy_hello.js

// Import the HelloWorld contract...
const HelloWorld = artifacts.require("HelloWorld");

module.exports = (deployer) => {
  // Deploy it!
  deployer.deploy(HelloWorld);
}
Ah, isn't that nice? The whole process of compiling your contract, connecting to the network, and spending ether to deploy the bytecode is summarized in just a few lines! That certainly saves us some time!
Now, in order to deploy our contract, we need to first specify which network we want to connect to. Remember, there are several Ethereum networks out there (the real one being the "mainnet"), but in our case we simply want to connect to our own local ganache-cli network.
To specify this, we open the file truffle-config.js and add the details of our network in JSON format, as documented on Truffle's website.
// truffle.js

module.exports = {
  networks: {
    development: {
      host: "127.0.0.1", // localhost
      port: 8545,
      network_id: "*",
    },
  },
};
We also need to specify what version of solc we want Truffle to use when compiling our contracts. This should match the version specified on the first pragma line of our .sol files (in this case, 0.5.100.5.10).
// truffle.js

module.exports = {
  networks: {
    development: {
     host: "127.0.0.1",
     port: 8545,
     network_id: "*",
    },
  },

  // Add this field:
  compilers: {
    solc: {
      version: "0.5.10",
    }
  }
}
After this, we simply run truffle migrate in our console (make sure that your ganache-cli instance is still running in the background as usual so that Truffle can connect to it)!
truffle migrate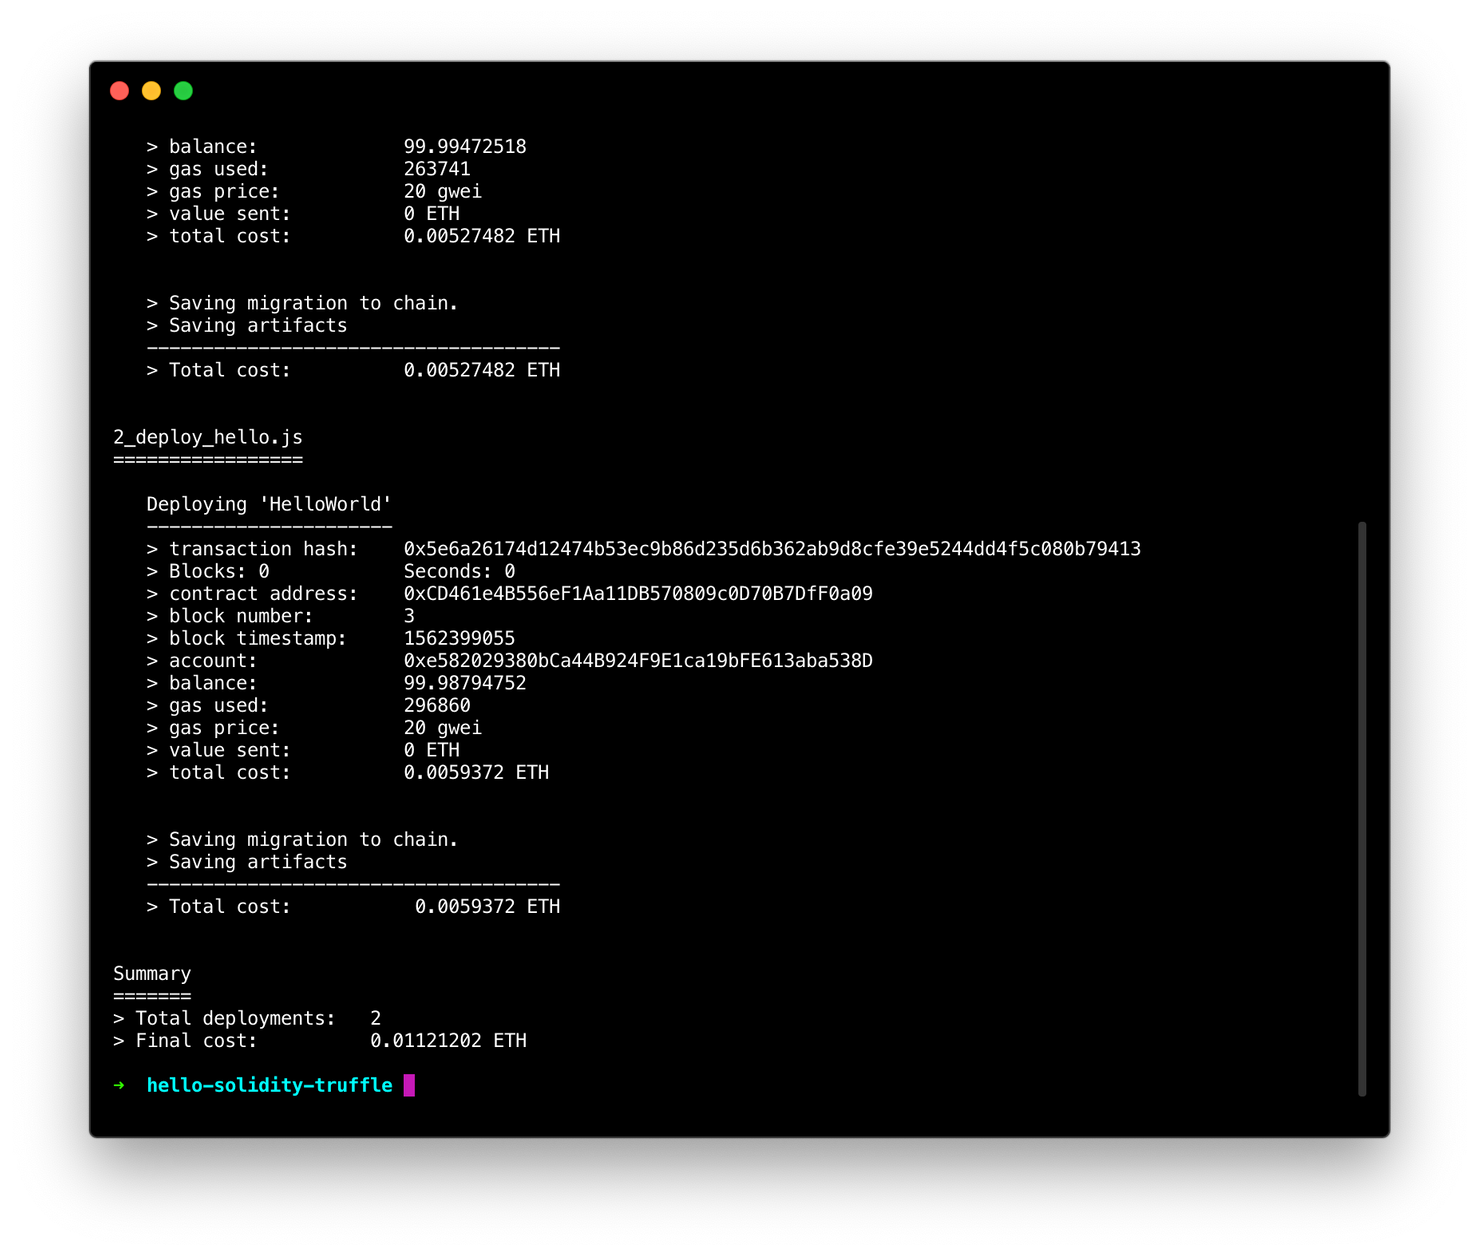 Success!
You should now see the contract address that your contract was deployed to. In my case, the address for the HelloWorld contract is 0xCD461e4B556eF1Aa11DB570809c0D70B7DfF0a09, but yours will obviously be something different.
Using the Truffle console
Finally, if we want to interact with our contract, we can use the Truffle console:
truffle console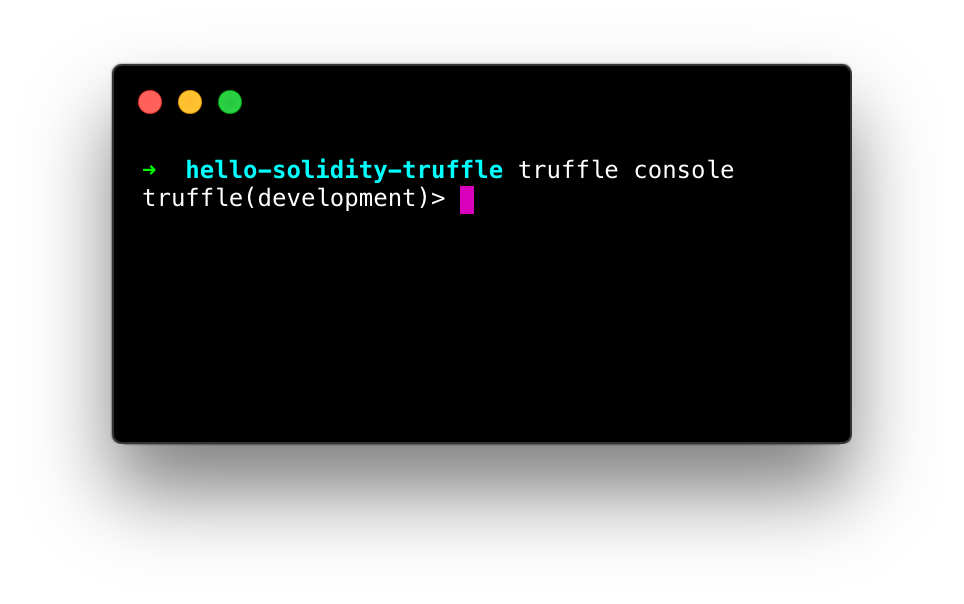
By entering the console, you will have the HelloWorld contract object available as a global variable and the web3 library is automatically included and connected.
When inside the console, you can access your deployed contract instance by typing HelloWorld.deployed(). This will return a promise, so if you want to view the result, you should use the await keyword:

Using that contract instance, we can then call our getMyName function by first saving the returned instance, and then using the syntax instance.getMyName.call().
We use the .call() method whenever we call a function that does not write anything to the contract. In other words, for functions that use the view or pure modifier, just like getMyName.
> const instance = await HelloWorld.deployed()
> instance.getMyName.call()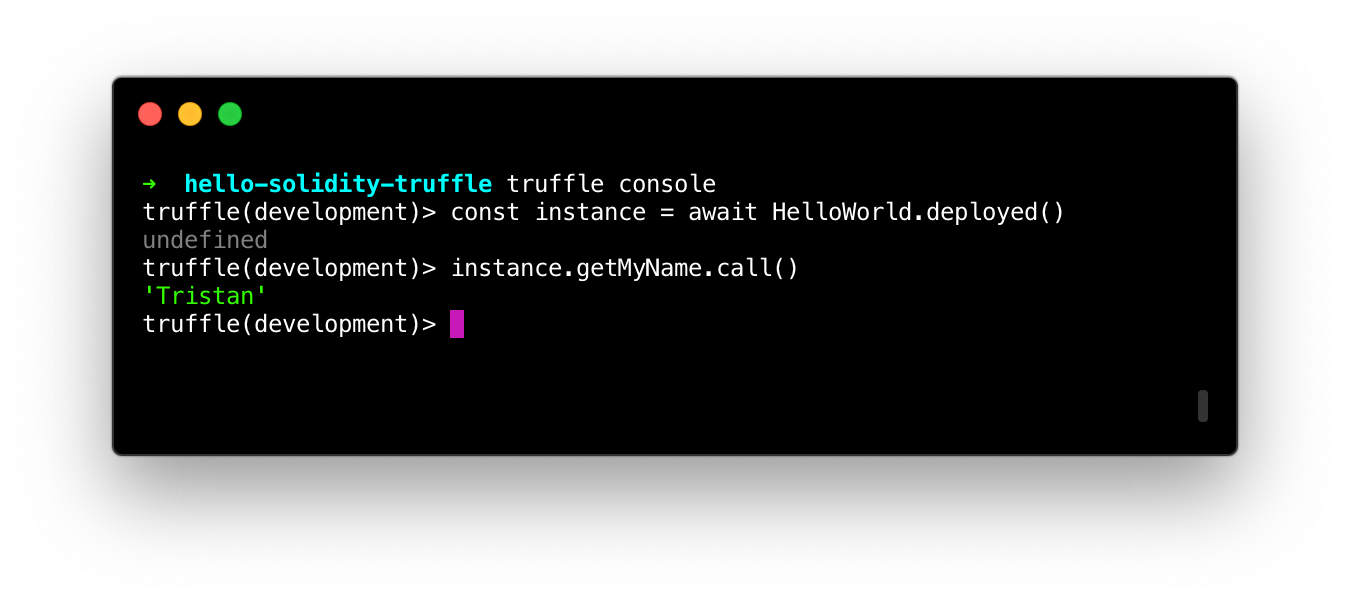 And there's the expected result of the function!
Testing your Truffle code
As I mentioned before, testing your Solidity code is crucial. You don't want to run into a situation where funds get stolen because of a bug in your contract.
In Truffle, you can write tests for your smart contracts in both JavaScript and Solidity, each with their pros and cons.
I've found that Solidity tests are usually great for simple unit tests that call specific parts of your code, whereas JavaScript tests are great for putting yourself in the user's shoes and testing wider use cases (a.k.a. integration tests).
In this chapter, we'll stick to JavaScript testing. In your test folder, create a new file called helloworld.js (you can name it whatever you want).

Truffle uses the Mocha testing framework behind the scenes, but uses contract()instead of describe() as its main function.
In our code, we'll do exactly what we did in the console: we simply fetch the deployed contract instance using HelloWorld.deployed() and then call the getMyName function and match it against the expected value ("Tristan").
// test/helloworld.js

const HelloWorld = artifacts.require('HelloWorld')

contract("HelloWorld", (accounts) => {

  it("should return my name", async () => {
    const instance = await HelloWorld.deployed()
    const value = await instance.getMyName.call()

    assert.equal(value, "Tristan")
  })

})
Running our tests is just as simple as you'd expect:
truffle test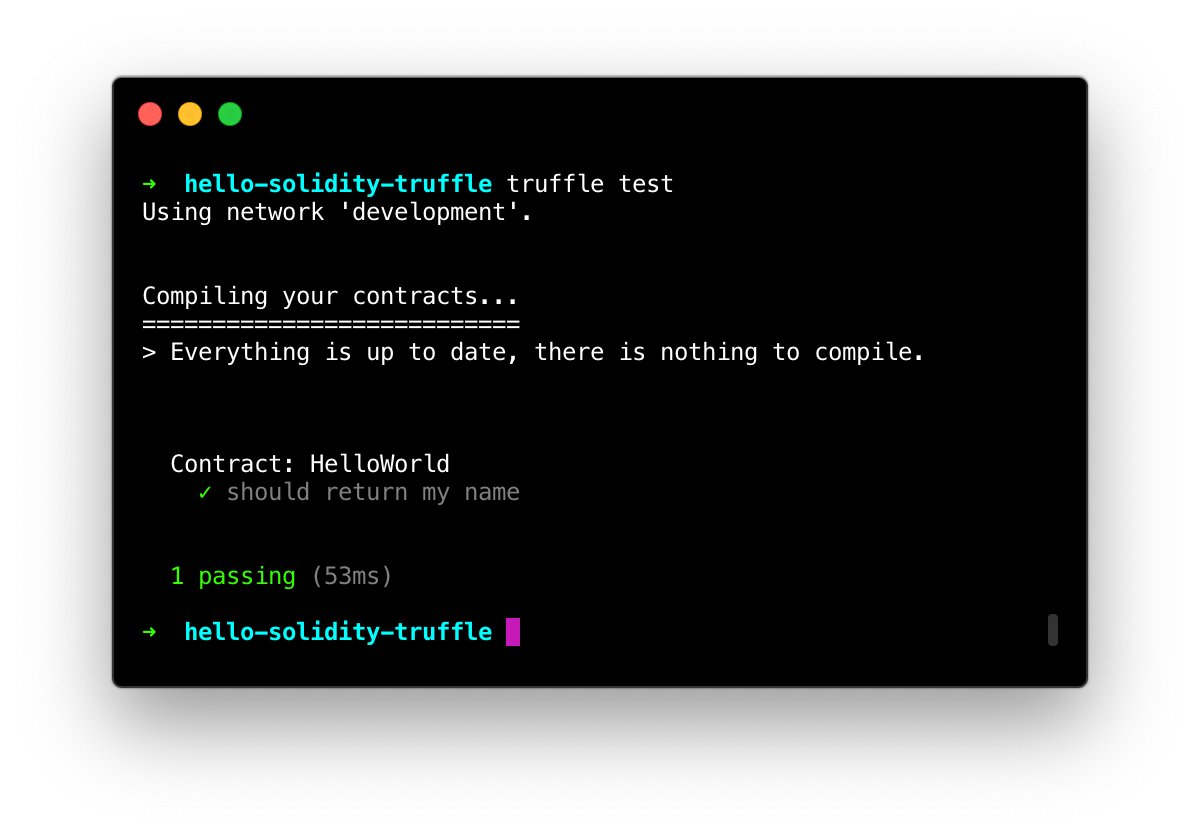 It passes!
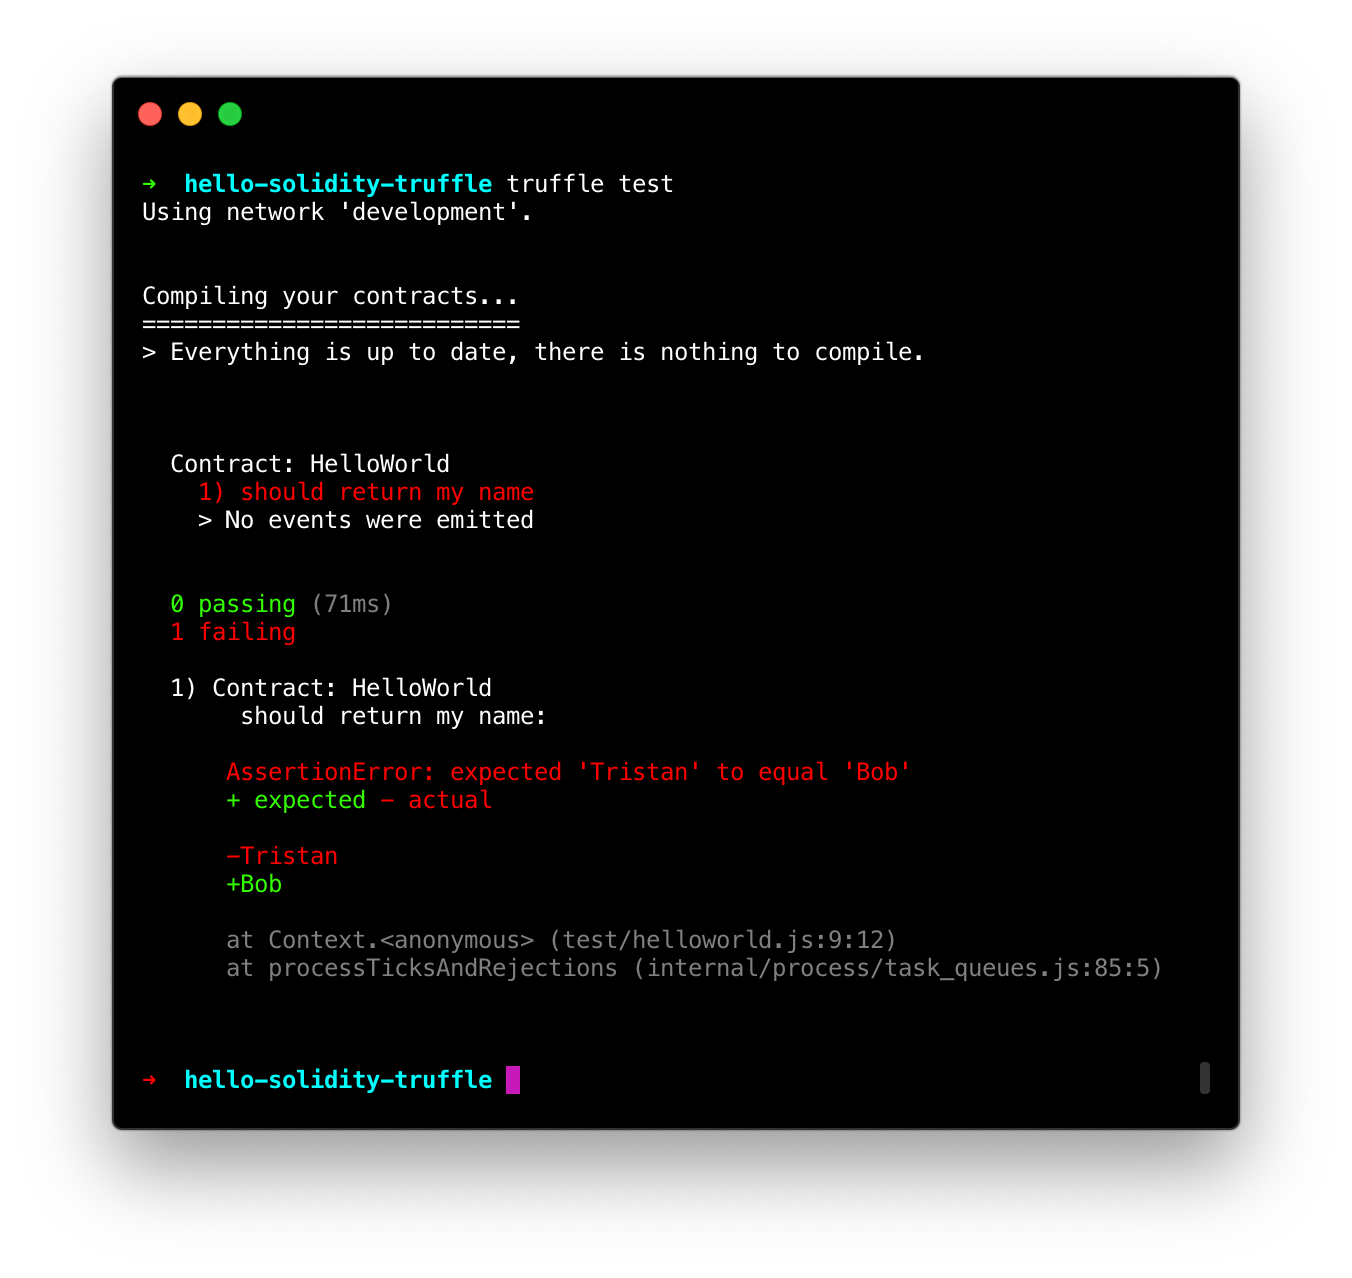
To prove that the test is working as it should, you can try changing the expected value in your test to something else (like Bob) and watch the test fail as you run it again:
// test/helloworld.js

// ...

contract("HelloWorld", (accounts) => {

  it("should return my name", async () => {
    // ...

    assert.equal(value, "Bob") // <-- Change the value to "Bob"
  })

})
Well done! Let's write one more test, this time for the writable changeMyName function, so that we get the hang of it.
This time, when we call changeMyName, we cannot use the .call() method, since it doesn't have either the view or pure modifier.
// test/helloworld.js

const HelloWorld = artifacts.require('HelloWorld')

contract("HelloWorld", (accounts) => {

  it("should return my name", async () => {
    const instance = await HelloWorld.deployed()
    const value = await instance.getMyName.call()

    assert.equal(value, "Tristan")
  })

  // Add this test:
  it("should change my name", async () => {
    const instance = await HelloWorld.deployed()
    await instance.changeMyName("Bob")
    const value = await instance.getMyName.call()

    assert.equal(value, "Bob")
  })

})
Run truffle test again, and you should now see both tests passing:
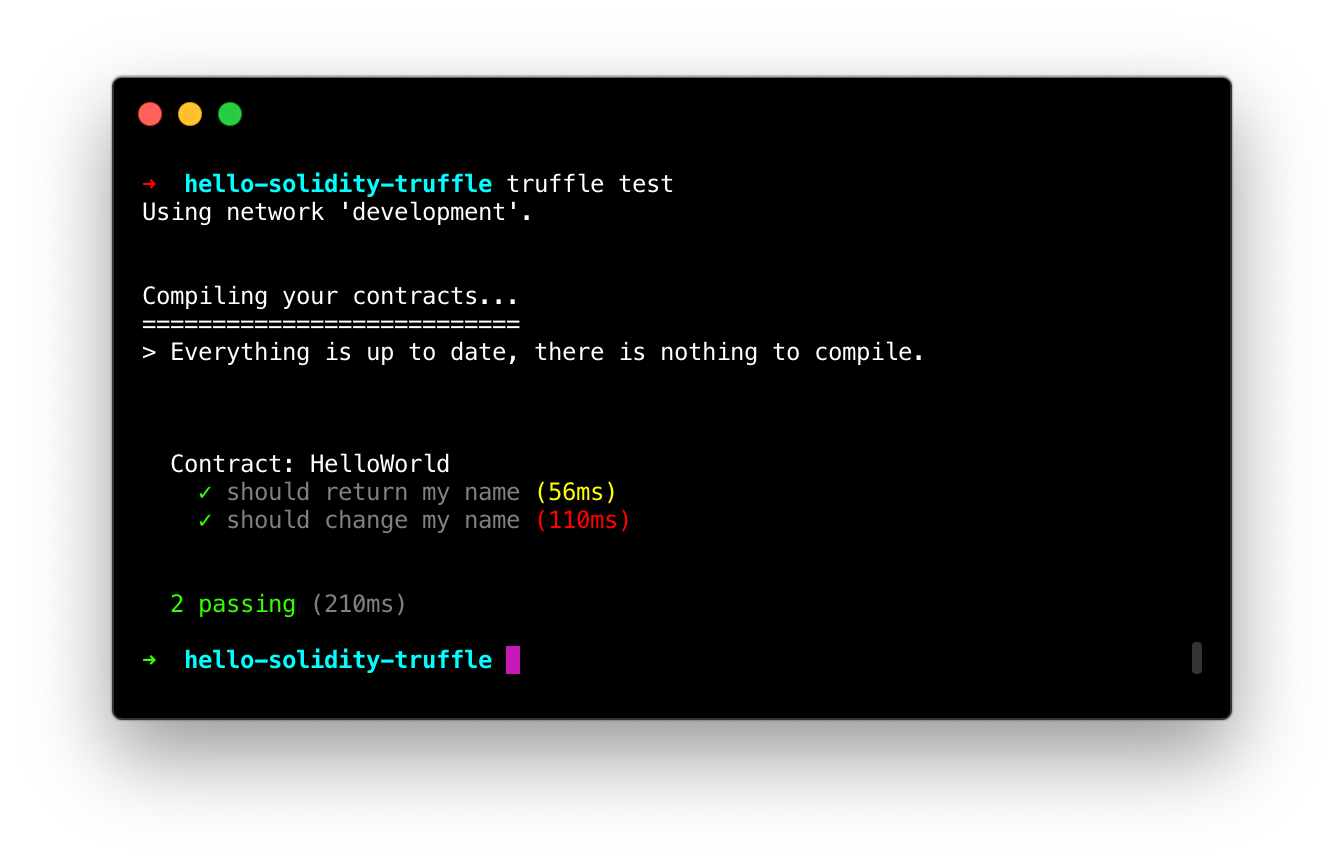 Hooray!
We've now gone through the basics of setting up a Truffle project. In the next chapter, we will start working on a more serious application, a decentralised Twitter clone (you can see the final result here), to see what pitfalls to avoid when dealing with more advanced smart contracts.