In this chapter, we're going to create a very simple smart contract that stores some information on the blockchain which we'll then retrieve.
Ethereum has multiple high-level languages that you can use to write smart contracts, each inspired by another widely used language. The most popular one is called Solidity, and is loosely based on JavaScript. Because Solidity is by far the most mature Ethereum language, it's the one that the community strongly encourages developers to use right now.
Using Remix
Since it's a bit complicated to get started with Solidity on your local computer, we will use an online IDE called Remix to take our first steps as DApp programmers instead.
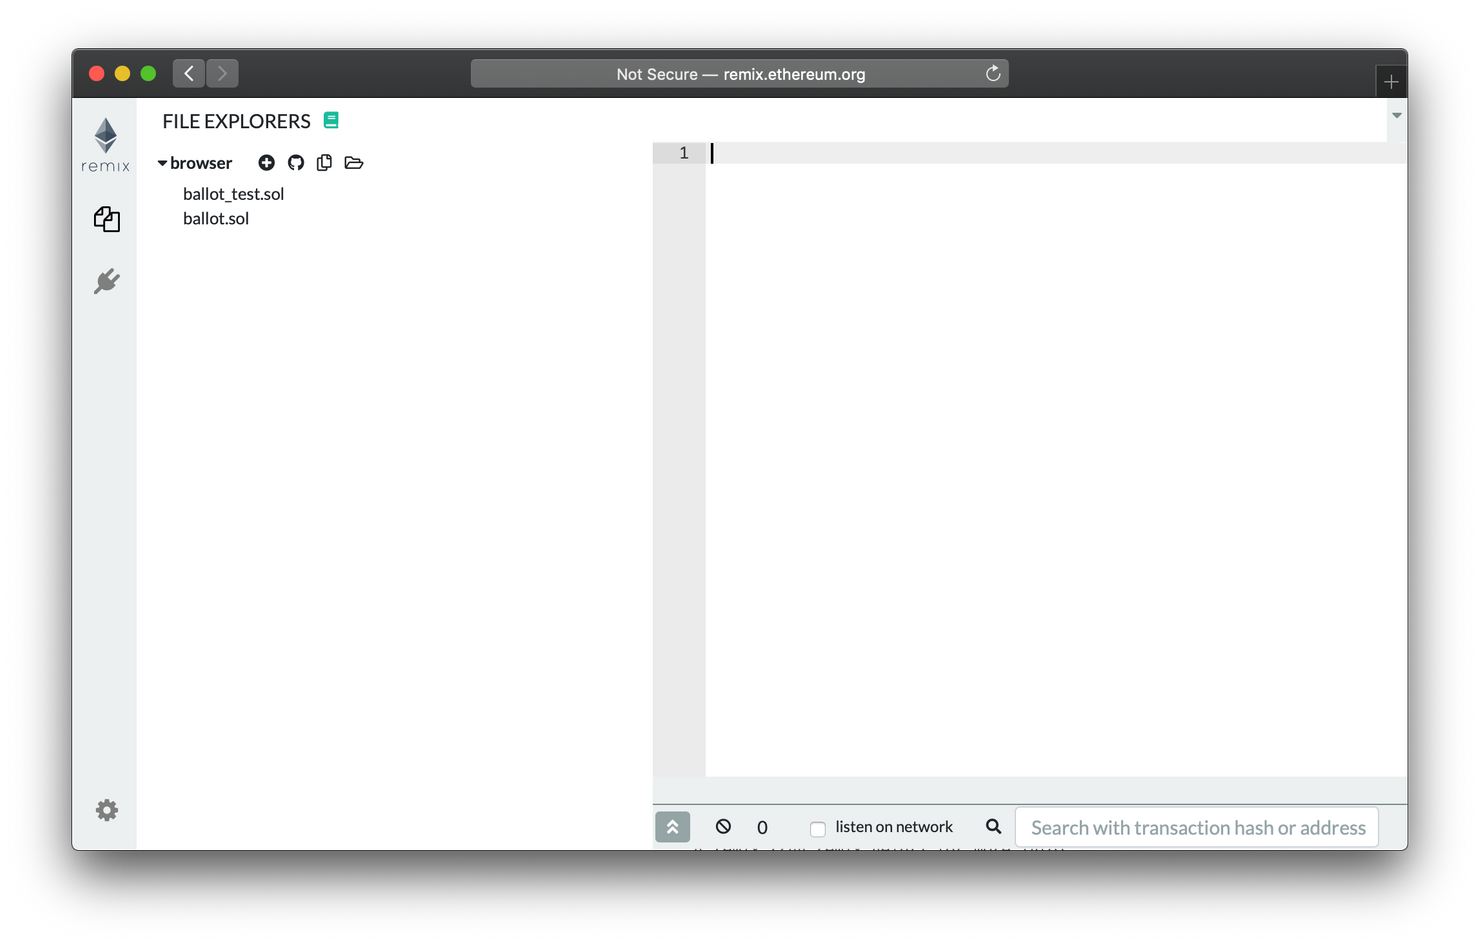
If you're entering the website for the first time, you'll see that there's a dummy contract called ballot.sol there already. Let's ignore that one and instead start from scratch by creating a new file called HelloWorld.sol in the left navigation menu.
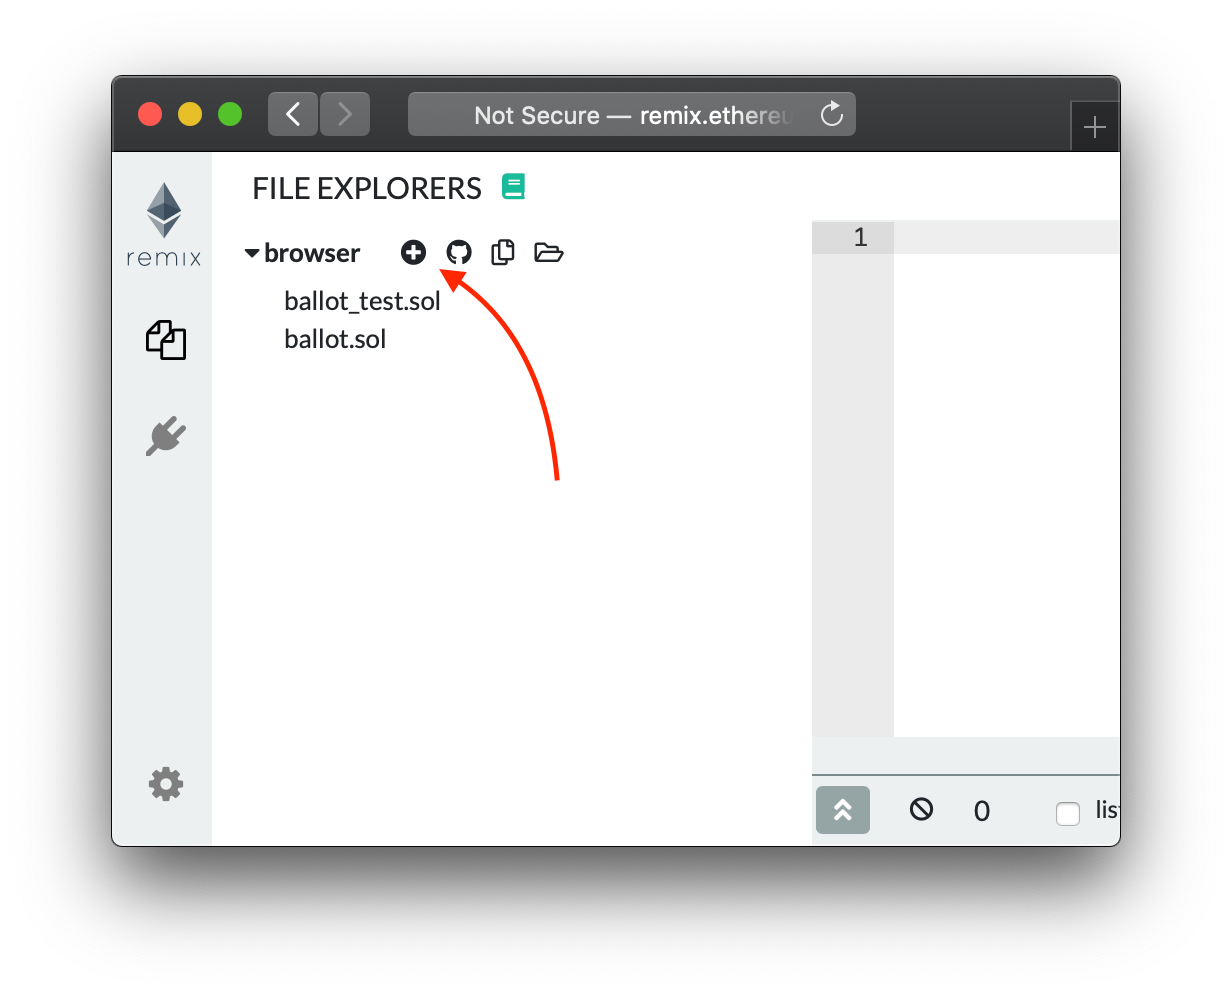
Just click the "+" button in the menu...
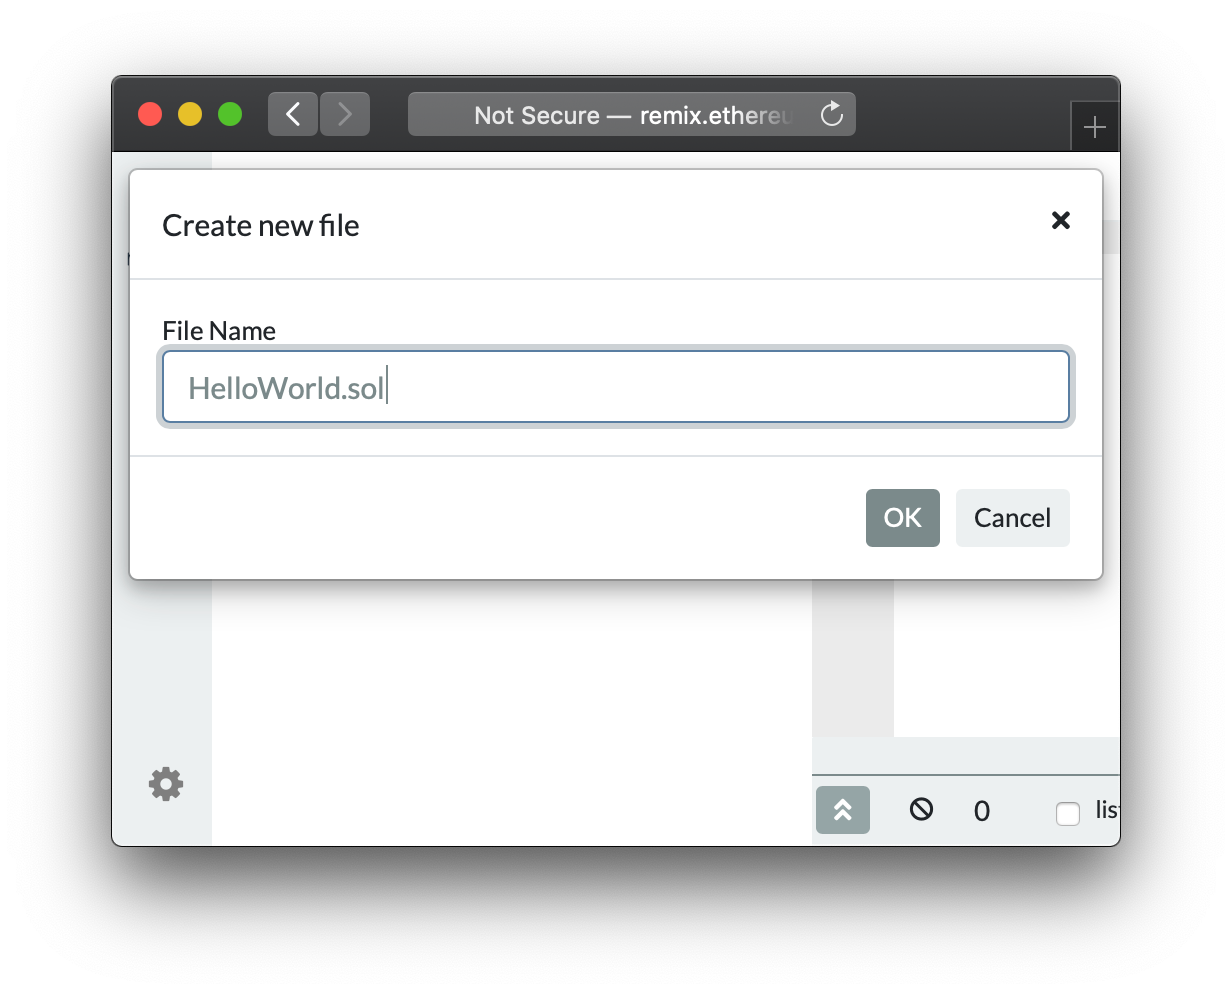
...and type in the name of your file
Writing in Solidity
Now that we have a completely blank file, let's go through how Solidity works.
The first thing we need to specify is what version of Solidity our program should be interpreted in. This is done through a version pragma on the very first line:
pragma solidity ^0.5.10;The idea here is that we're preventing our program from being compiled by a compiler that's older than 0.5.100.5.10. The ^-symbol in the beginning also prevents it from being compiled by a compiler that's 0.6.00.6.0 or higher. We do this in order to minimise the risk of bugs that can occur if the code is compiled in unexpected or incompatible ways.
Next, it's time to write the actual contract code! We do this by using the special contract key word which declares a new contract. If you're used to object-oriented languages, you'll notice that it's similar to how classes are defined.
pragma solidity ^0.5.10;

contract HelloWorld {
  // Here's where we put our contract code
}
Contract names are usually PascalCased, so we'll call ours HelloWorld in order to stick with this convention.
Inside our contract, we'll add a state variable that stores our name as a string. By convention, variables use camelCase, so we'll call it myName.
contract HelloWorld {
  // Feel free to use your own name
  string myName = "Tristan";
}
Note that Solidity is statically typed, so you always need to define the type of your variable before you assign a value to it. A list of all types can be found in Solidity's documentation.
Finally, we want to be able to retrieve this value from our contract by calling a function. We'll call this function getMyName:
contract HelloWorld {
  string myName = "Tristan";

  // Add this function:
  function getMyName() returns(string) {
    return myName;
  }
}
Notice that we need to specify the return value of a function in Solidity. Since we're just returning the myName string in this case, we write returns(string).
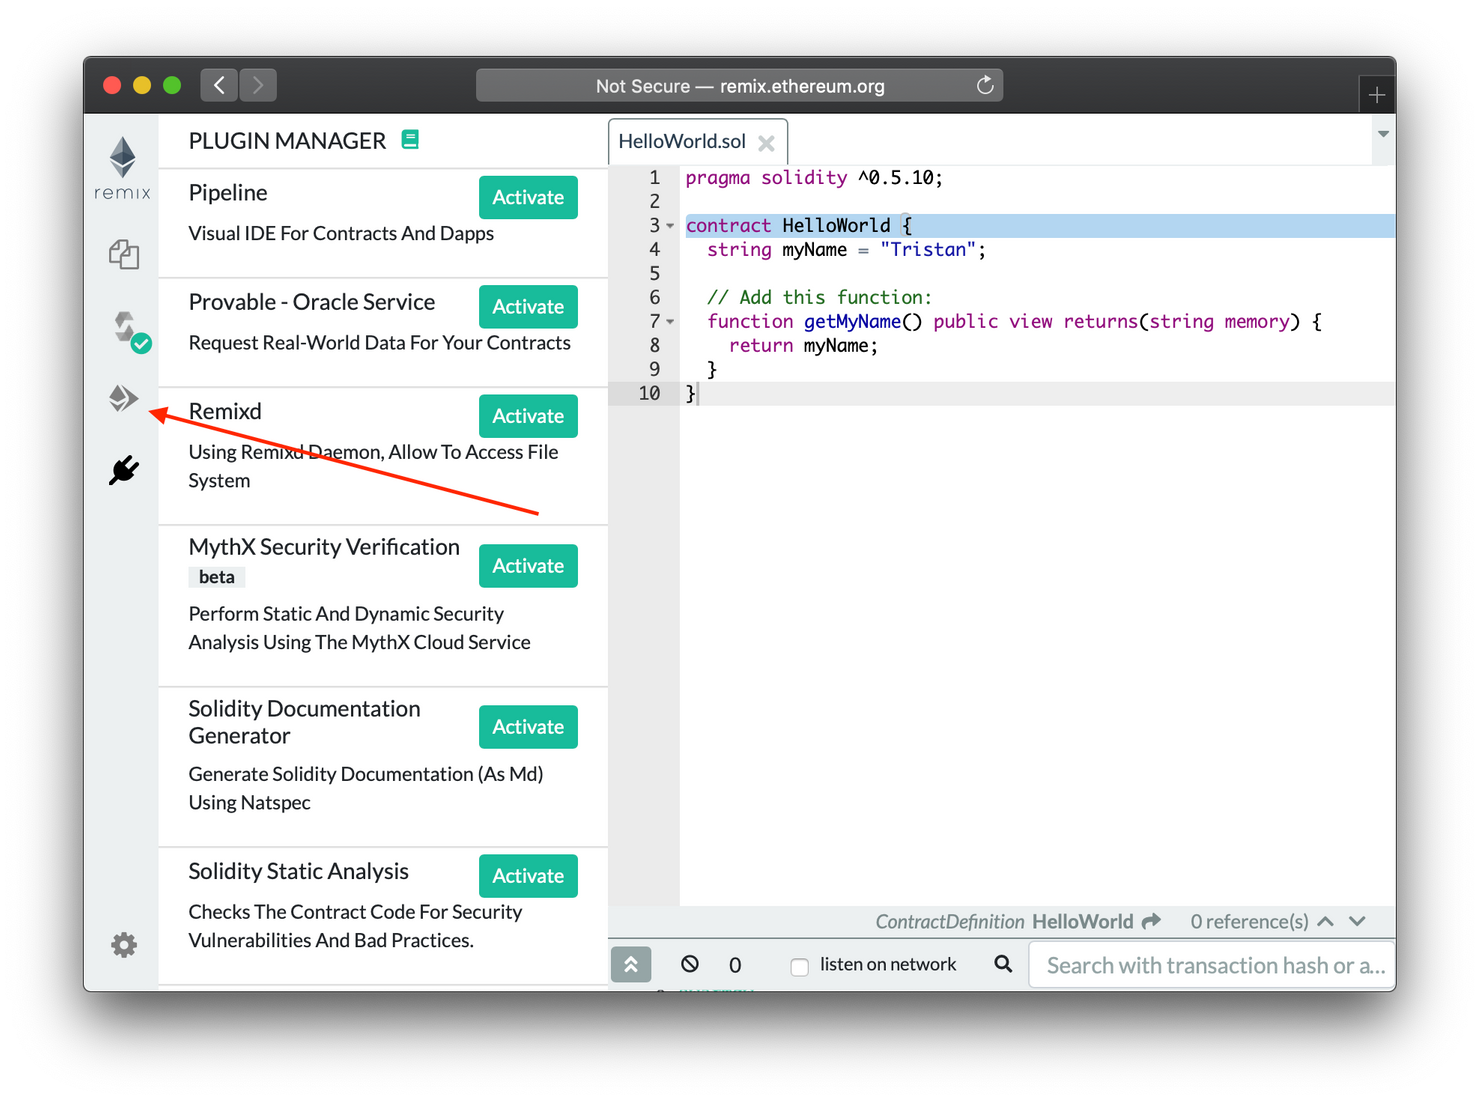
Taming the compiler
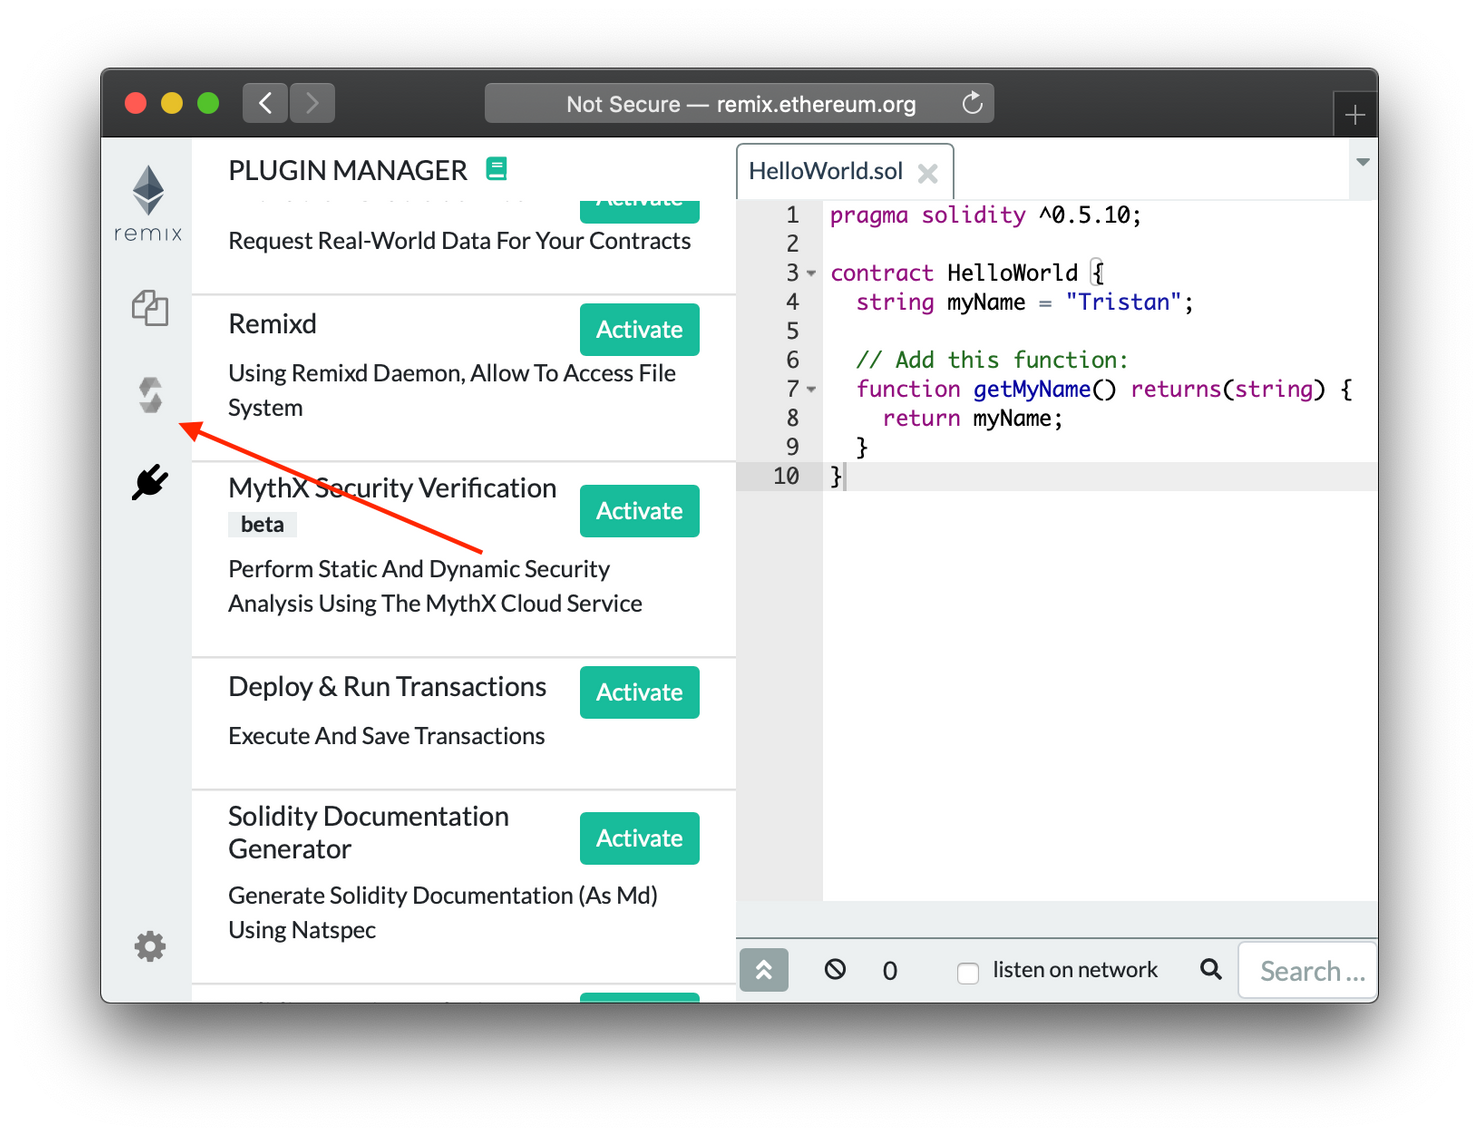
In order to easily catch errors in our contract, we're going to add the compiler plugin to our workspace.
 Head over to the plugin section
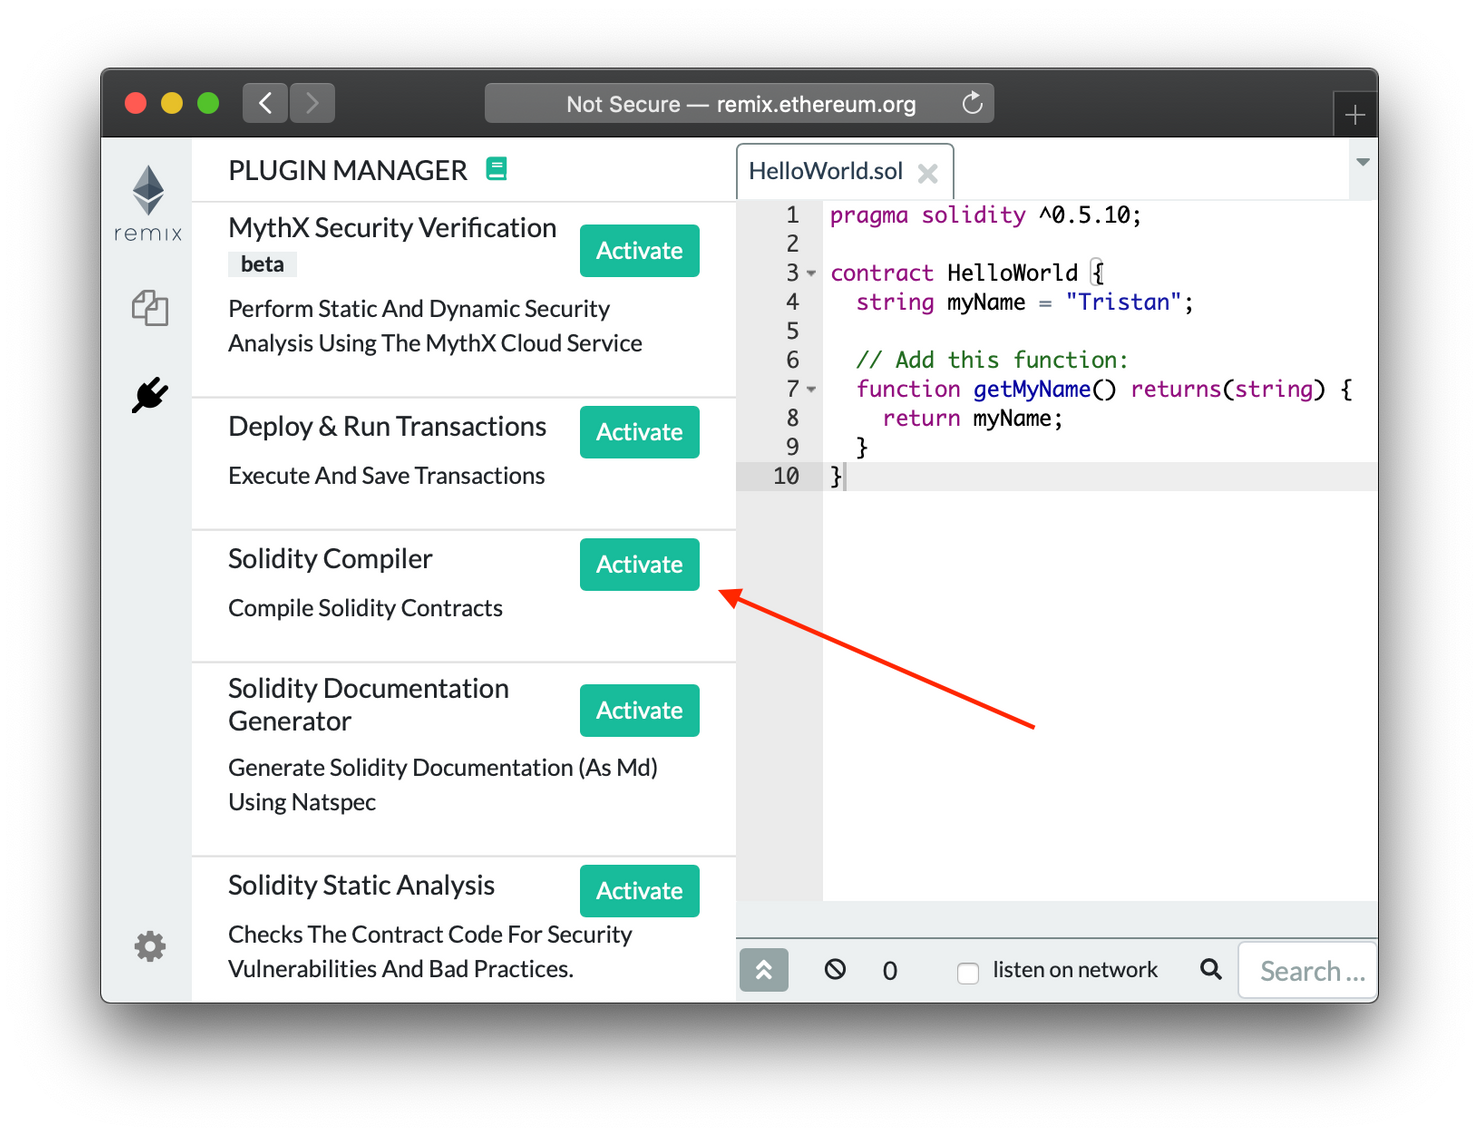 Scroll down until you find the "Solidity Compiler" and click on "Activate"
 You'll now see this new menu icon that takes you to the compilation section.
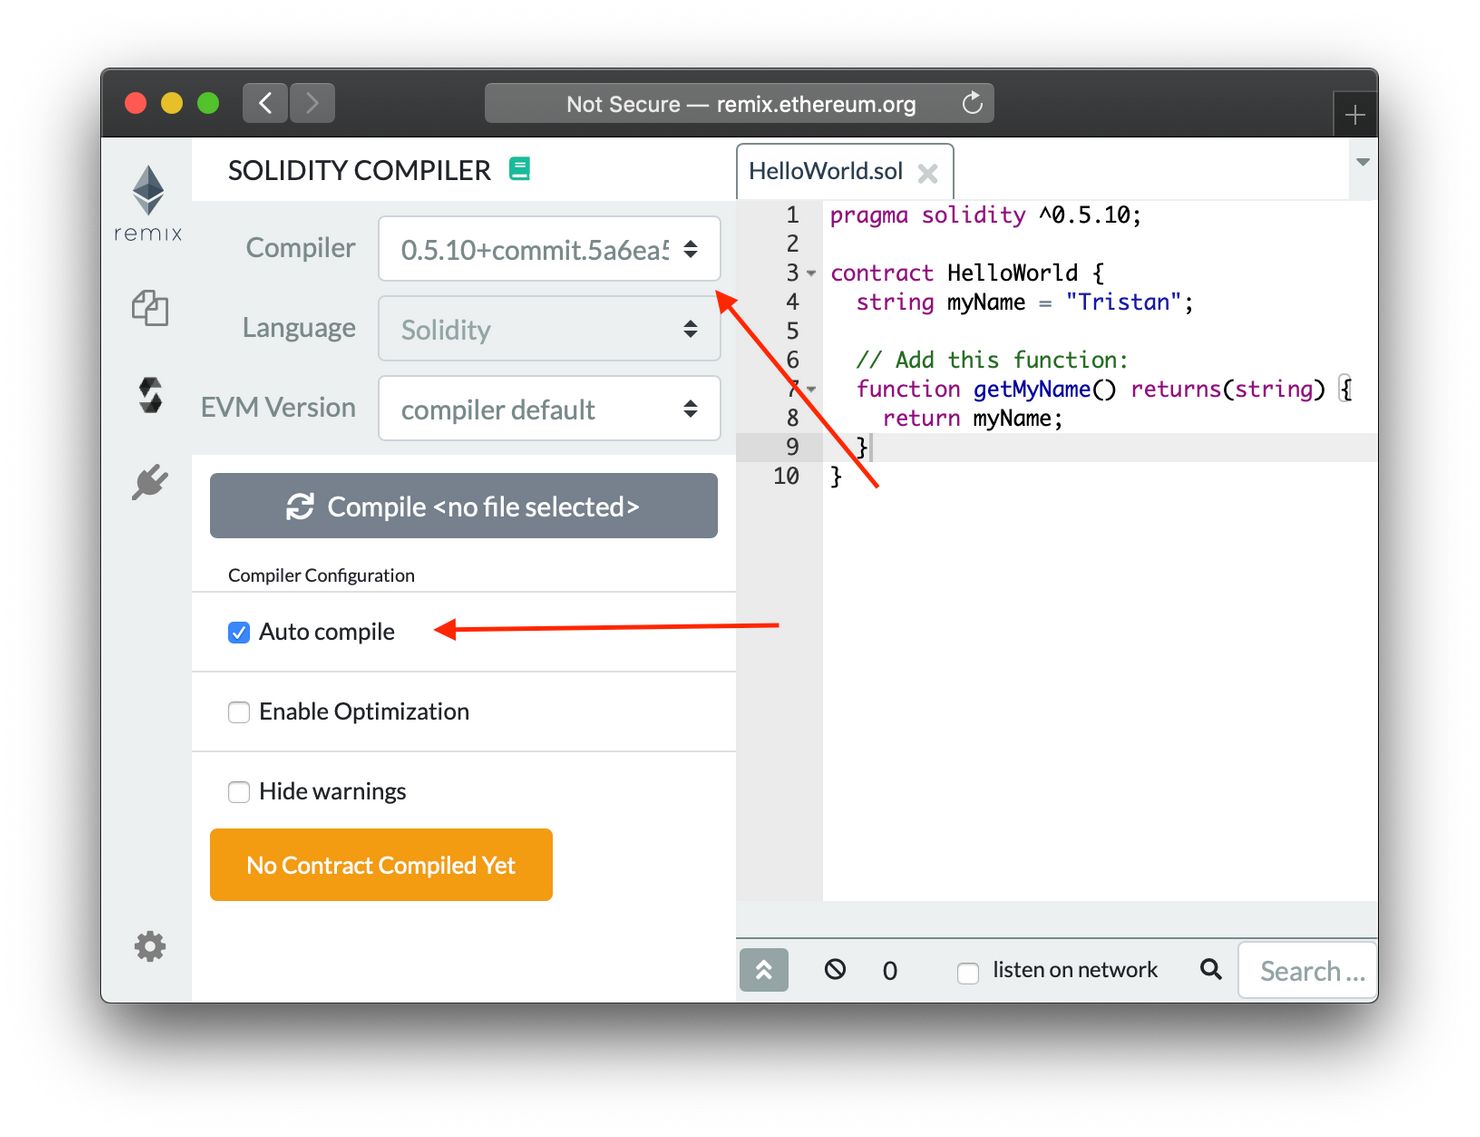 Make sure that the compiler version matches the first line of your contract file (in this case "0.5.10"), and turn on "Auto compile".
If you've followed along so far, you'll now see that any time you make changes to your contract file, you'll automatically see some errors from the compiler.
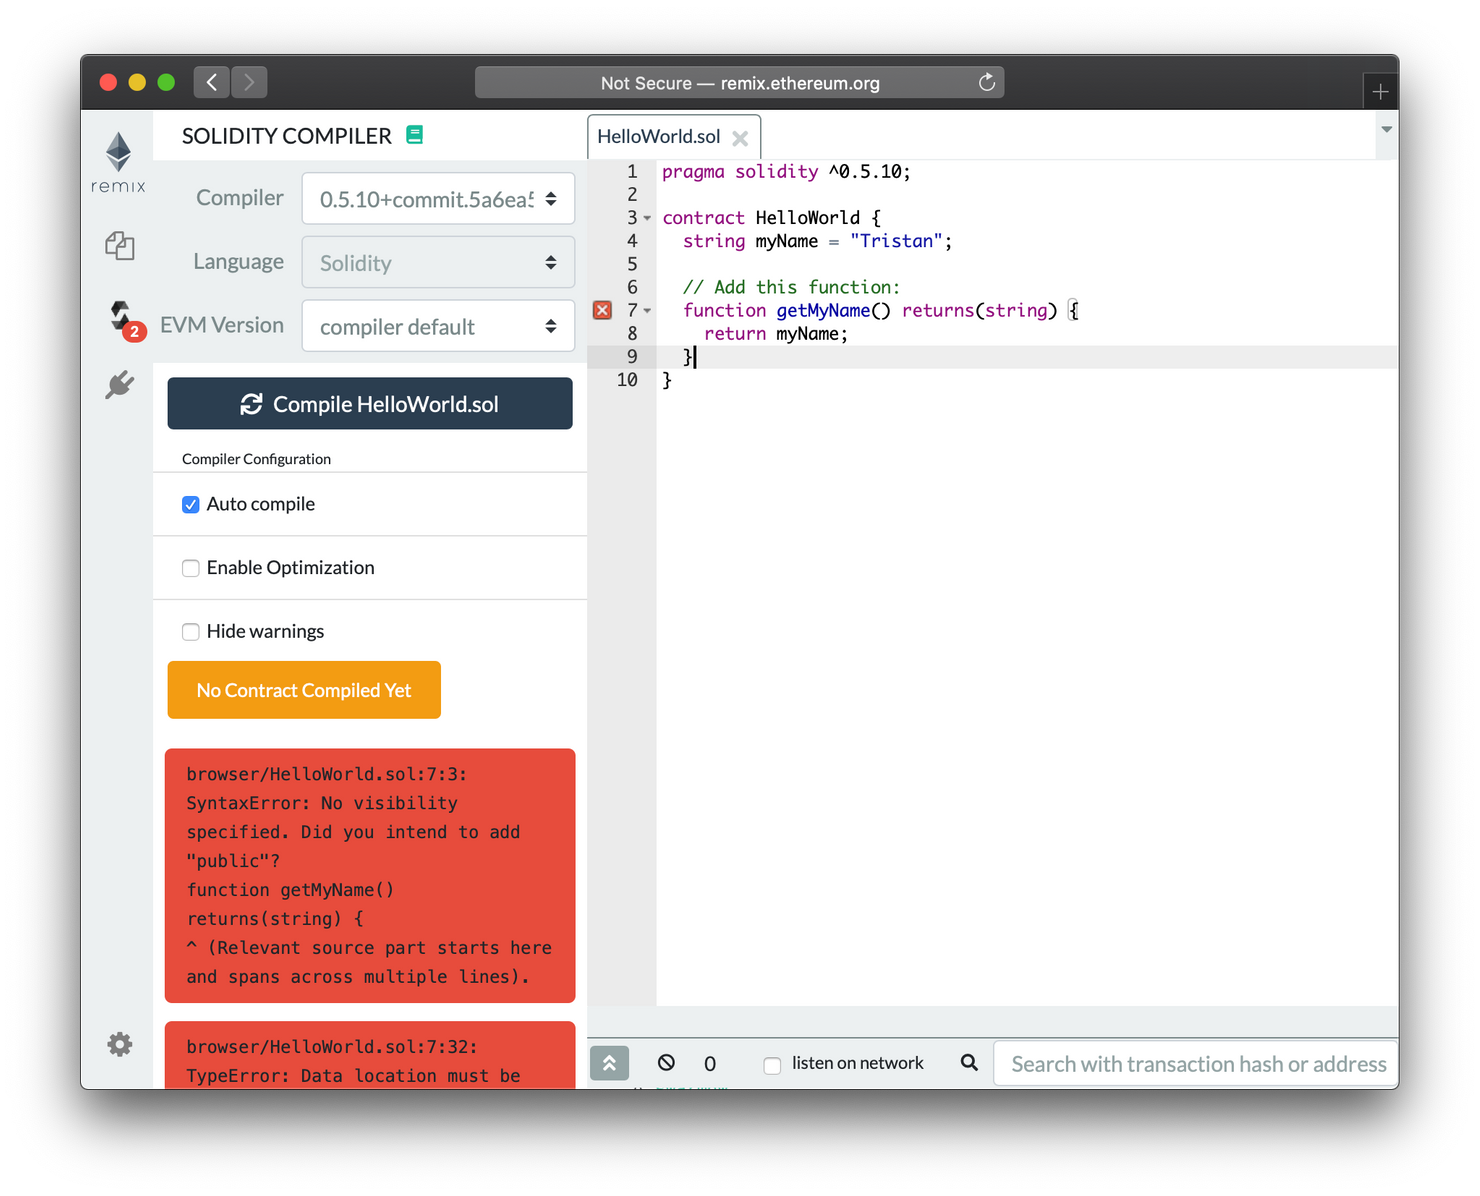
Every time you change something in your code, Remix will automatically try to compile it. Red fields indicate that the code failed to compile (because of syntax errors), and yellow fields indicate that it compiled with some warnings.
The first error tells us that the visibility of our function hasn't been specified (and is therefore defaulting to "public"). There are actually 4 visibility types in Ethereum:
-
public: anyone can call the function, including a consumer of the DApp. -
private: only the contract itself can call the function (in another function). -
internal: only this contract and all contracts deriving from it can call it. -
external: only consumers can call the function, and no other function in the contract itself can.
In my experience, public and private are by far the most used types.
Since we're currently just playing around, we don't mind setting the visibility to public. Note that even though Solidity defaults to this, it's considered good practice to always explicitly specify the visibility of your functions, in order to avoid potentially catastrophic oversights.
// Add the "public" modifier after the name of the function:
function getMyName() public returns(string) {
  return myName;
}
We also have a second error:
TypeError: Data location must be "memory" for return parameter in function, but none was given. function getMyName() public returns(string)The way to fix this is to simply specify that the string that we're returning is also of memory type, e.g. that we're not interested in mutating the contract's stored myName, we'll just return a copy of it (more on this later).
// Add "memory" after "string":
function getMyName() public returns(string memory) {
  return myName;
}
After doing this, there should only be a yellow warning left. This one is slightly harder to decrypt:
Function state mutability can be restricted to viewWhat the compiler is really saying is that it's detecting that our function never mutates any state on the blockchain -- it only reads from it. Therefore, we can use the viewmodifier to make that more clear:
// Add the "view" modifier right after "public":
function getMyName() public view returns(string memory) {
  return myName;
}
When a function has a "view" modifier, you don't need to spend any ether to call them (even if they use operations that consume gas), since no transaction needs to be made. They are essentially "free to use".
There are 3 built-in modifiers that have an impact on the amount of ethers that are spent:
-
view: is free to call, since it only "views" the state of the blockchain without changing it. It was previously known asconstant. -
pure: also free to call and neither reads nor writes to the blockchain. It is used for "pure" functions where one input will always return the same output. -
payable: expects a certain amount of ether regardless of what the gas costs are. This is often used in token sale contracts, where the amount of money sent by the user can vary.
Running your contract
Now that the compiler is happy, we want to actually interact with our contract! In order to do that, we're going to add a new plugin:
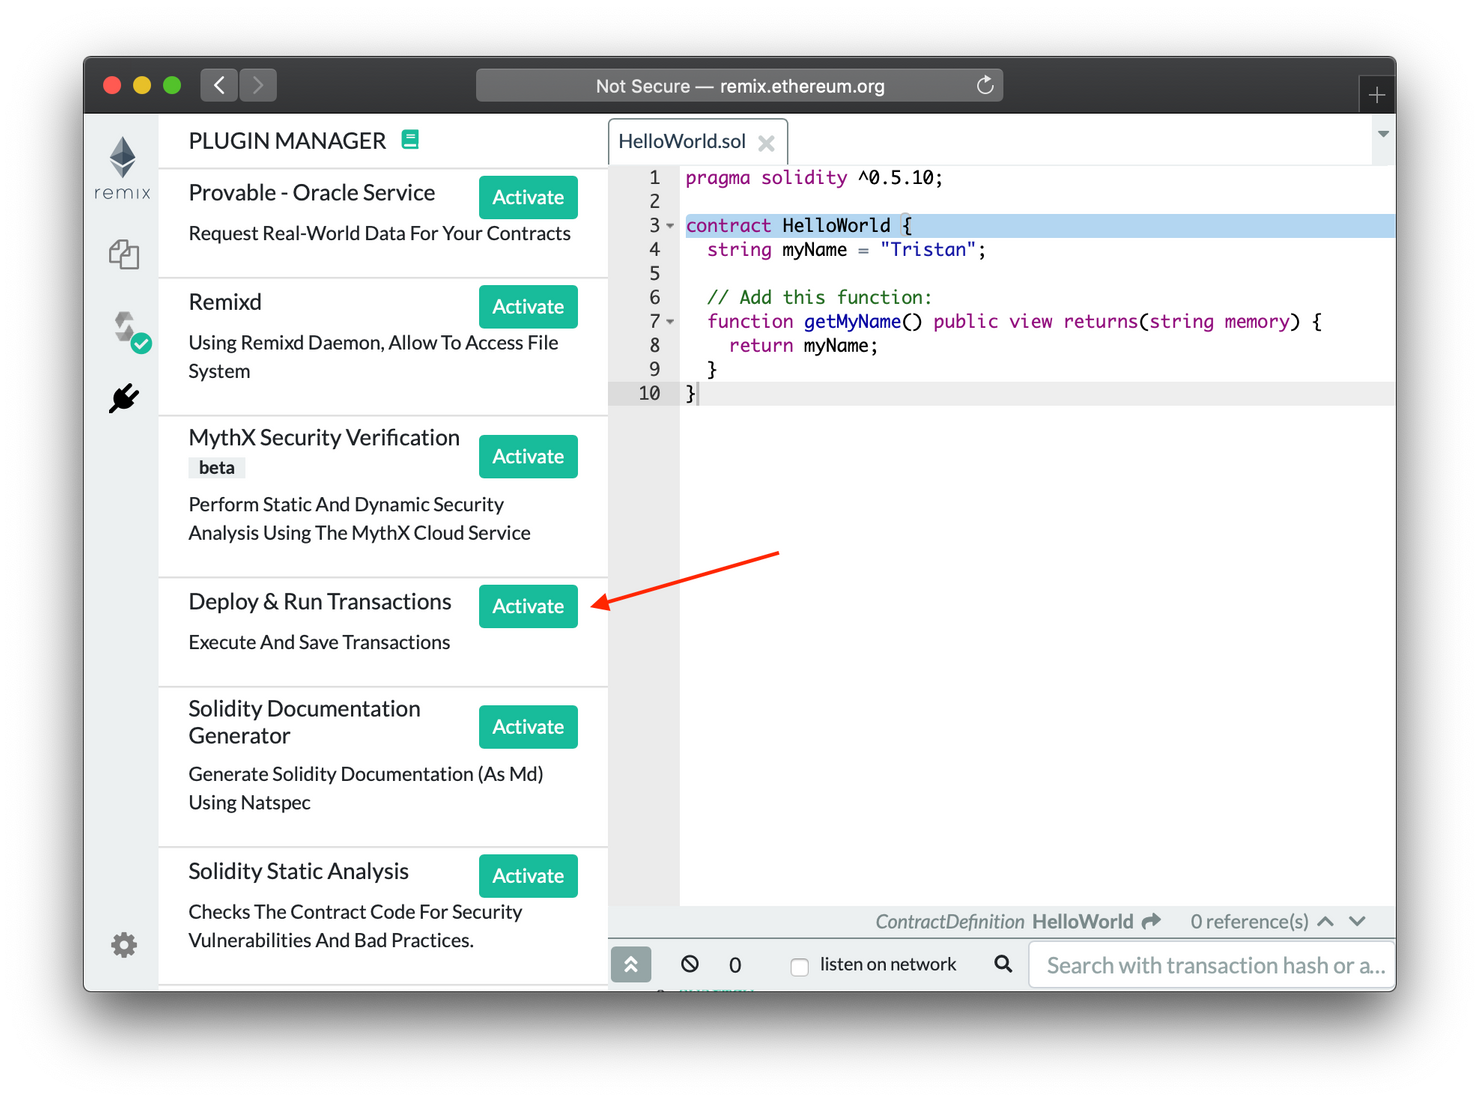 Find the plugin called "Deploy & Run Transactions" and click the "Activate" button.
 Yet another menu tab will appear in your workspace.
 This menu can seem overwhelming, but don't worry, it's not too difficult to understand!
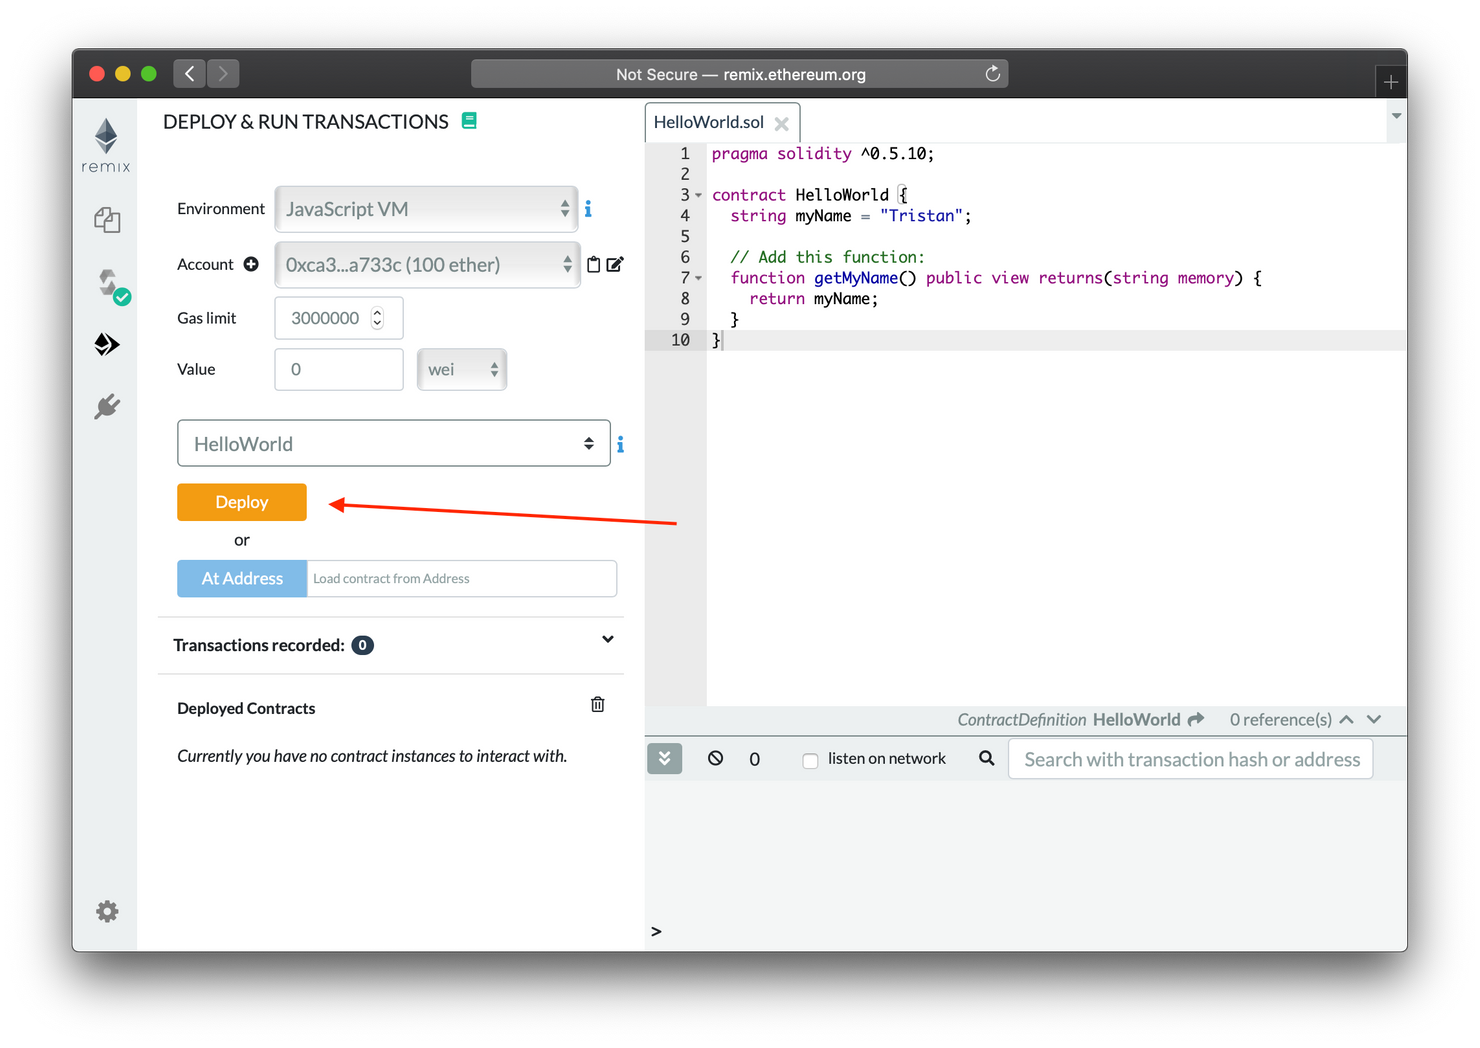
In this new tab, you can specify some options for creating your contract, like what (fake) address to upload it from for example.
We won't mess with any of these settings for now. Just make sure that the Environment is set to "JavaScript VM", that your HelloWorld contract is selected, and click on the orange "Deploy" button.
 After clicking, you should see some messages appear in the Remix log.
It might not seem like much, but you actually just deployed your contract to an Ethereum address (although only in a virtual environment)!
Deploying a contract also uses gas, and costs a certain amount of ether. That's why, if you check the account address in the options, your balance should have slightly gone down from 100 ether to something closer to 99. Now that the HelloWorld contract is up and running, you can click on the contract in the "Deployed contracts" section, and call its getMyName function simply by pressing the blue button in the browser window that says "getMyName".
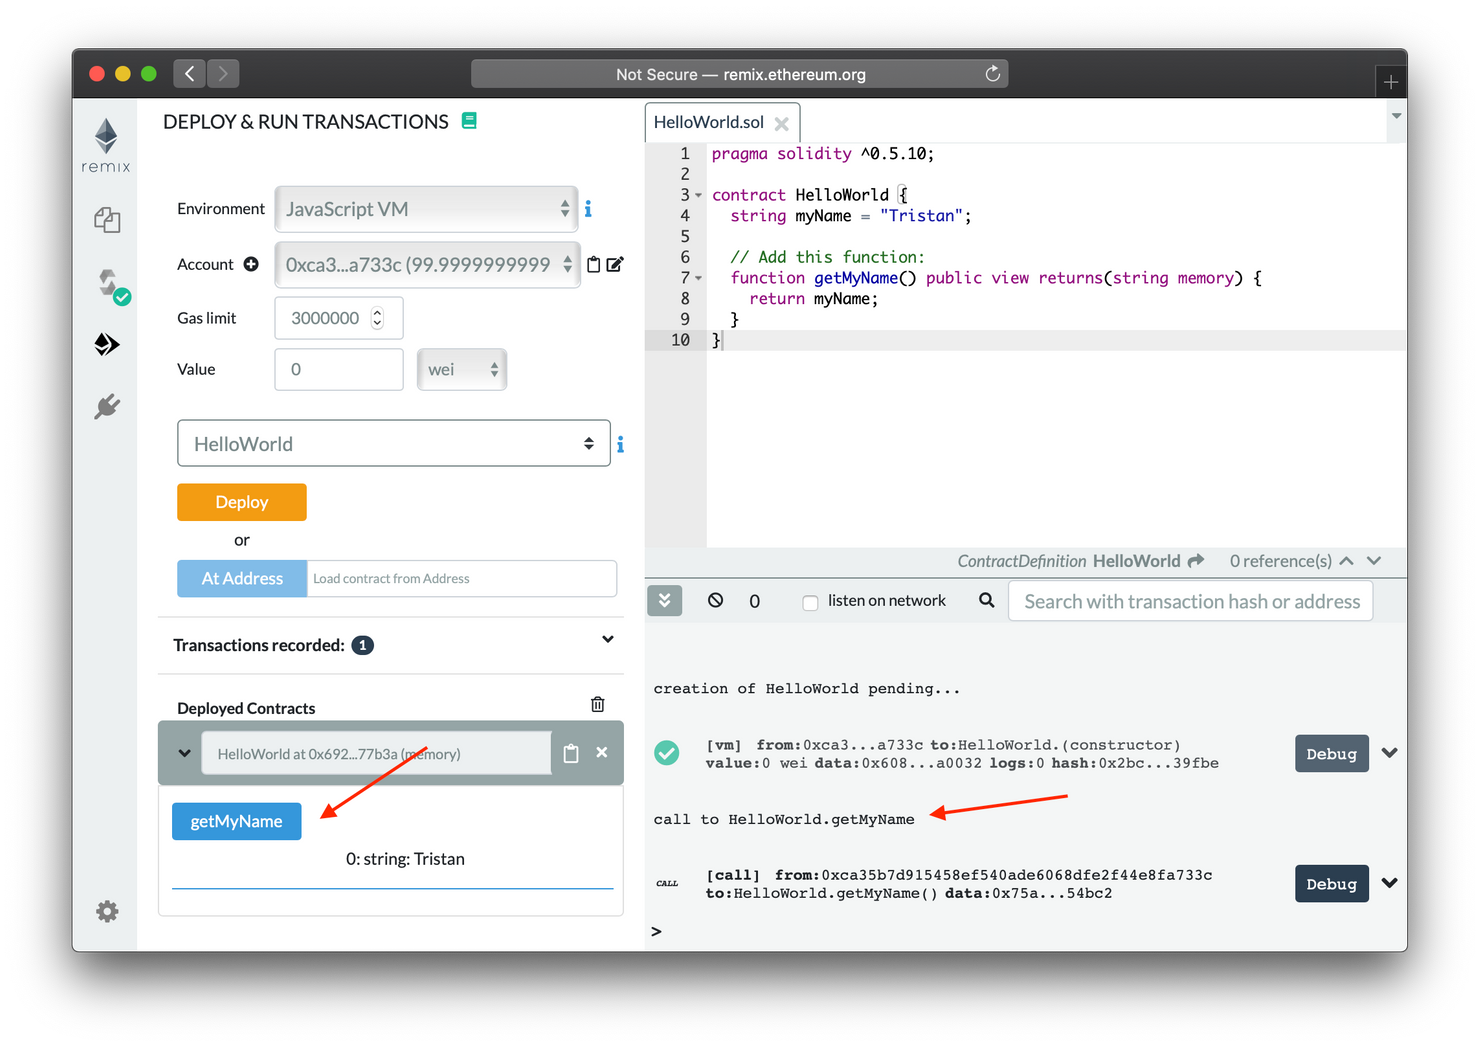 As you can see, it returns the string "Tristan" just as expected.
The grey Remix logs the call in more detail and shows something like this:
call to HelloWorld.getMyName
CALL
[call]from:0xca35b7d915458ef540ade6068dfe2f44e8fa733cto:HelloWorld.getMyName()data:0x75a...54bc2
Notice that your address balance did not change when calling the function, since it's a "view" function.
Adding a writeable function
So far so good, but what we really want to do is to let anyone change the name variableto something else. For this, we're going to add a new changeMyName function.
pragma solidity ^0.5.10;

contract HelloWorld {

  // ...

  function changeMyName(string memory _newName) public {
    myName = _newName;
  }
}
As you can see, this function differs from getMyName in a few ways. It does not use the view modifier, since it actually changes data stored on the blockchain, and it also doesn't return anything.
Arguments in Solidity functions are often prefixed with an underscore (_) to distinguish them from global state variables like myName. We will adopt this convention throughout the course.
Let's redeploy our contract by clicking the "Deploy" button once more.
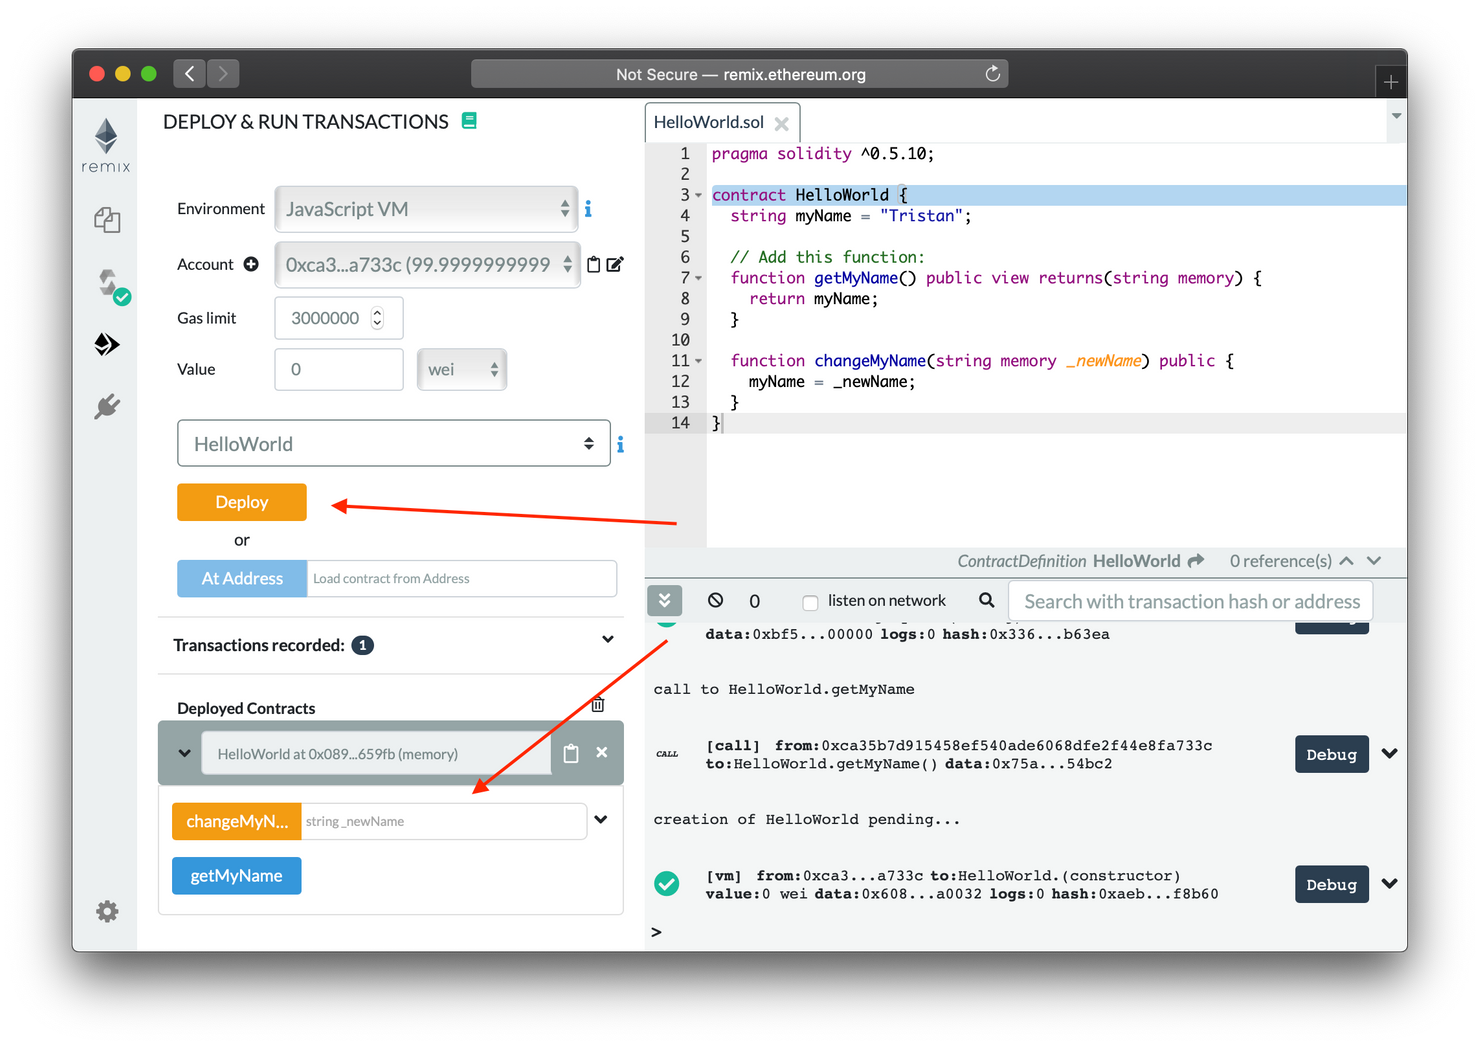 After clicking "Deploy", you should see an updated instance of your contract, which includes the new "changeMyName" button.
Notice how the new "changeMyName" button is orange instead of blue, which indicates that it's a writeable function.
You should now be able to type in a new name in the input field (don't forget to add double quotes around the name), click the "changeMyName" button, and fetch it by clicking "getMyName":
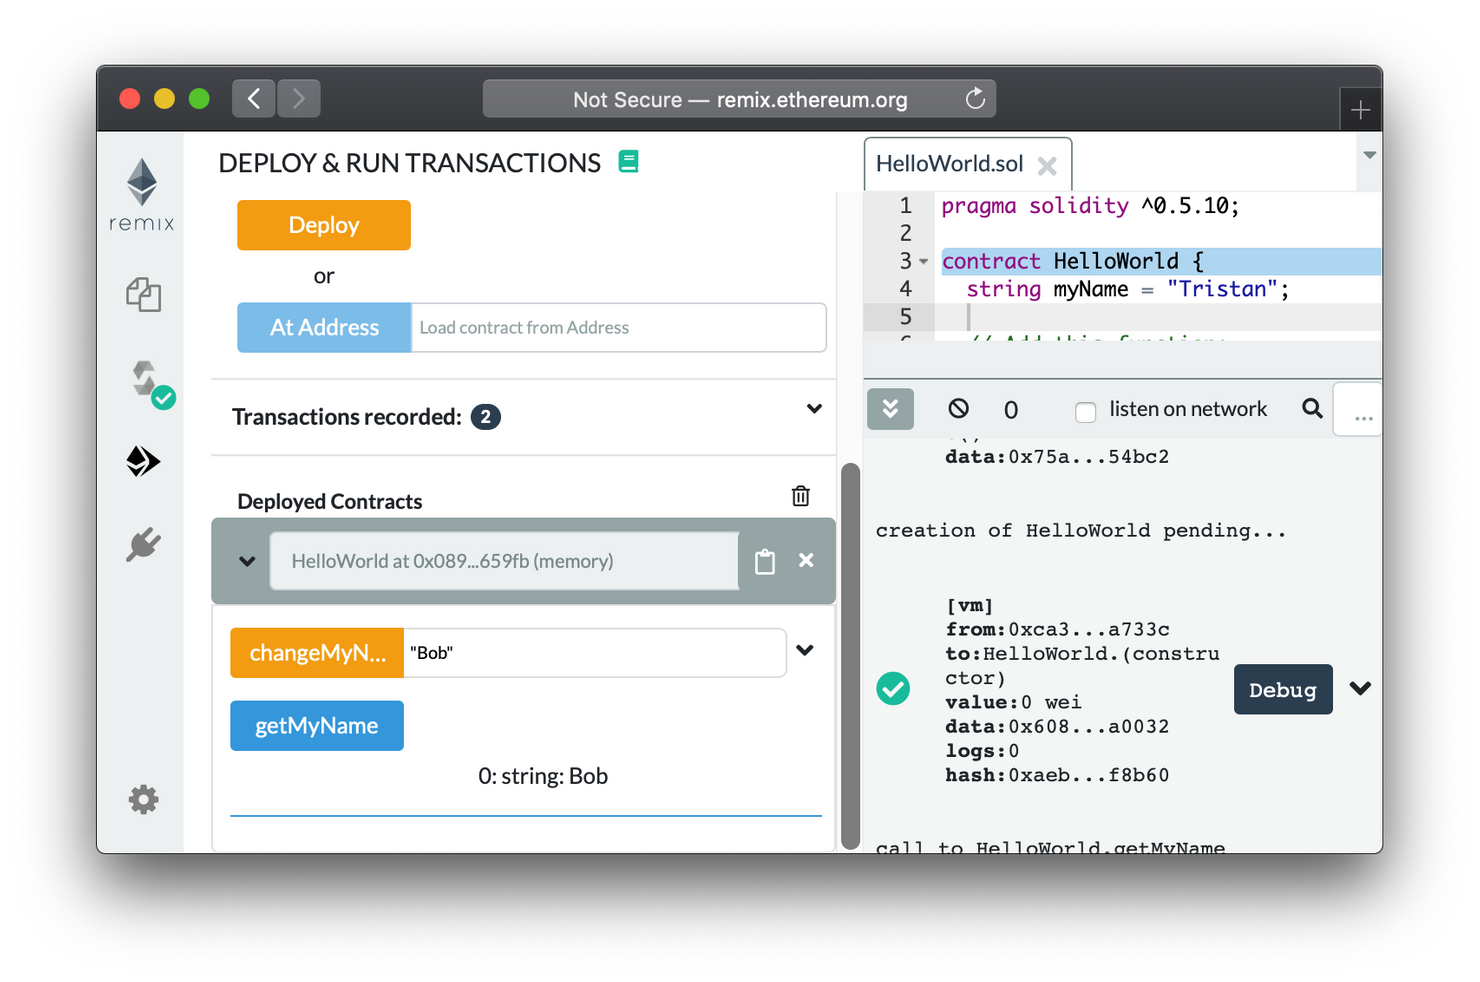
Congratulations, it seems like our code works, and you've just written your first Solidity contract! Getting and setting different kinds of state variables is a key concept that we'll be using over and over again.
In the next chapter, we'll look at how we can run this code locally on our computer instead of relying on Remix in the browser.